 GAMESLASH
Kimo explains pixel-art rendering fixes for Claude-made games
By GameSlash
Kimo demonstrates filtering, integer scaling and consistent pixel sizes, and explains why camera and sprite positions should snap to the pixel grid.
Kimo (@asynkimo) shared eight pixel-art rendering practices for games made with Claude, arguing that incorrect rendering can make good assets look bad. His 15-second demonstration shows three visible problems: blurry filtering, unevenly scaled pixels and inconsistent pixel sizes between a character and its scene.
1. Keep edges sharp
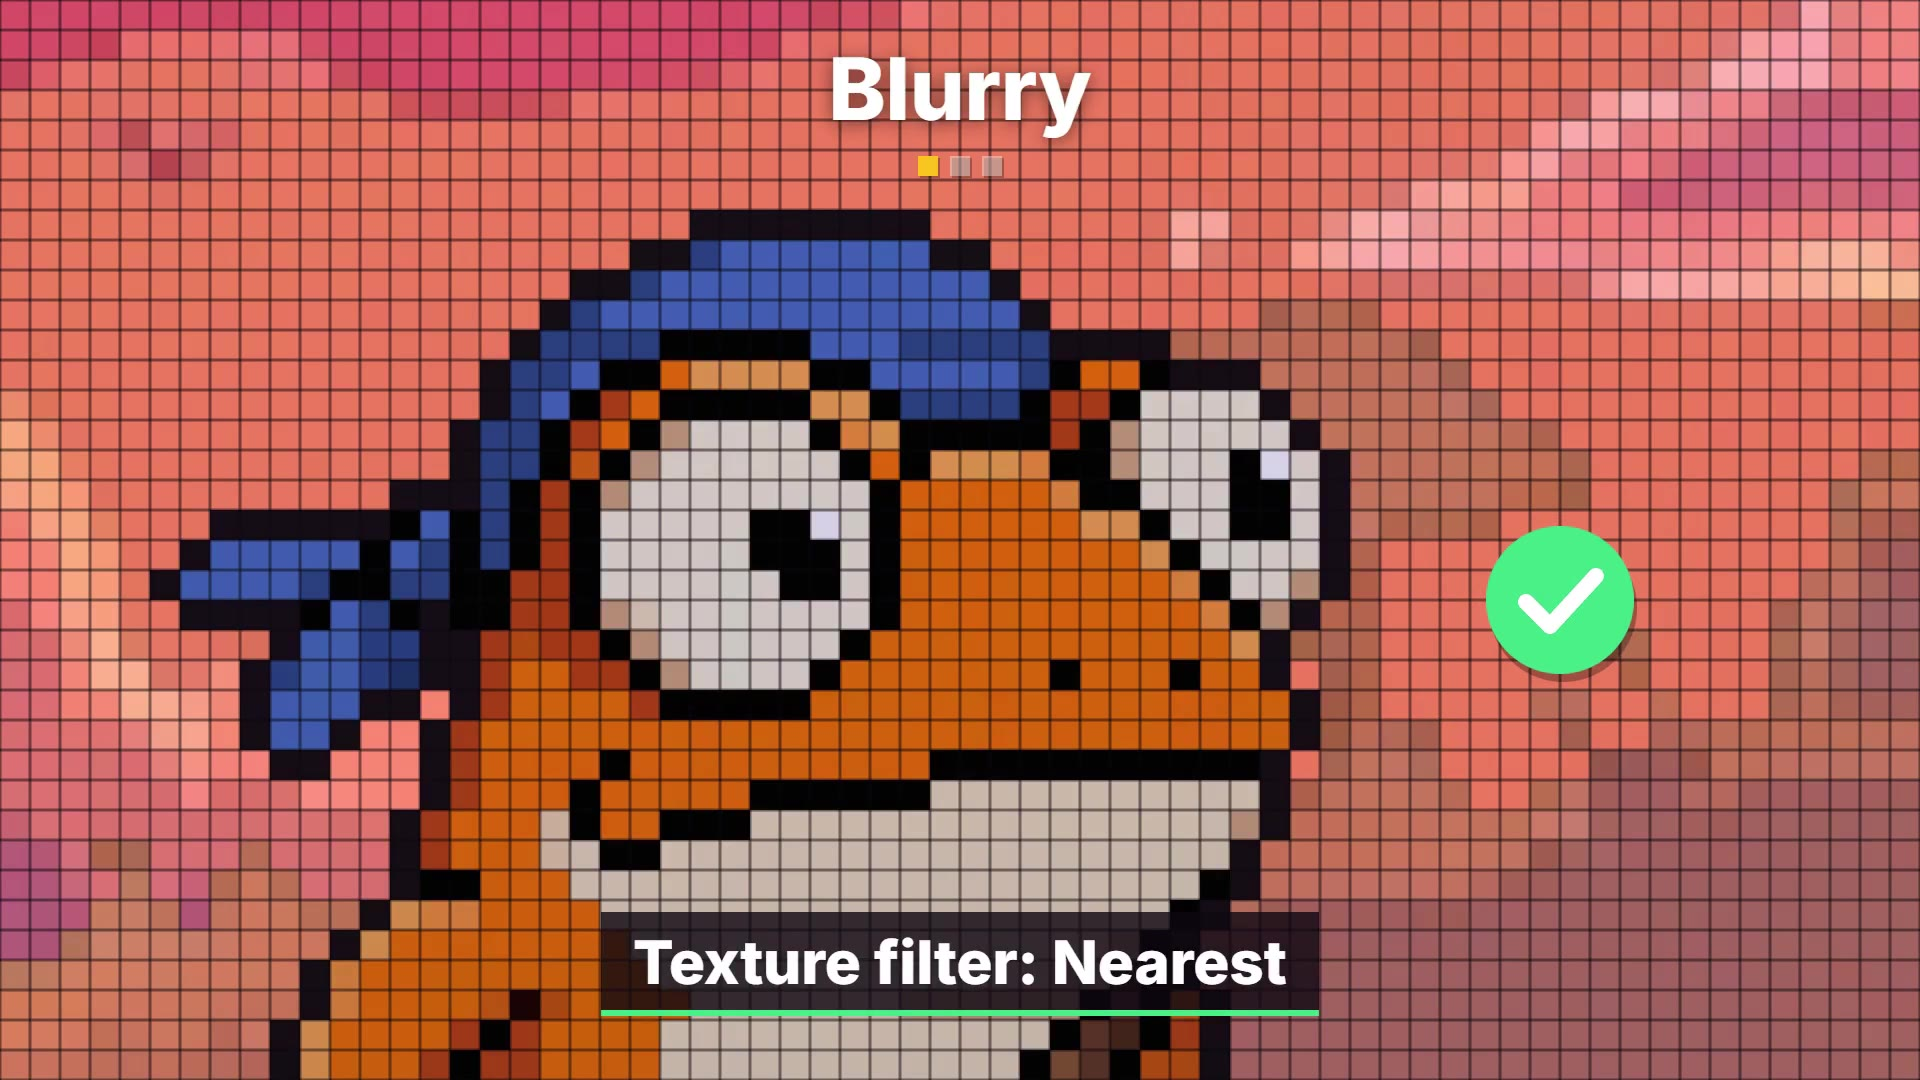
Kimo recommends Nearest texture filtering, disabling sprite mipmaps and avoiding lossy compression. In the video, switching from Linear to Nearest preserves the hard edges of the character’s pixels.
2. Integer scaling: keep pixel widths even
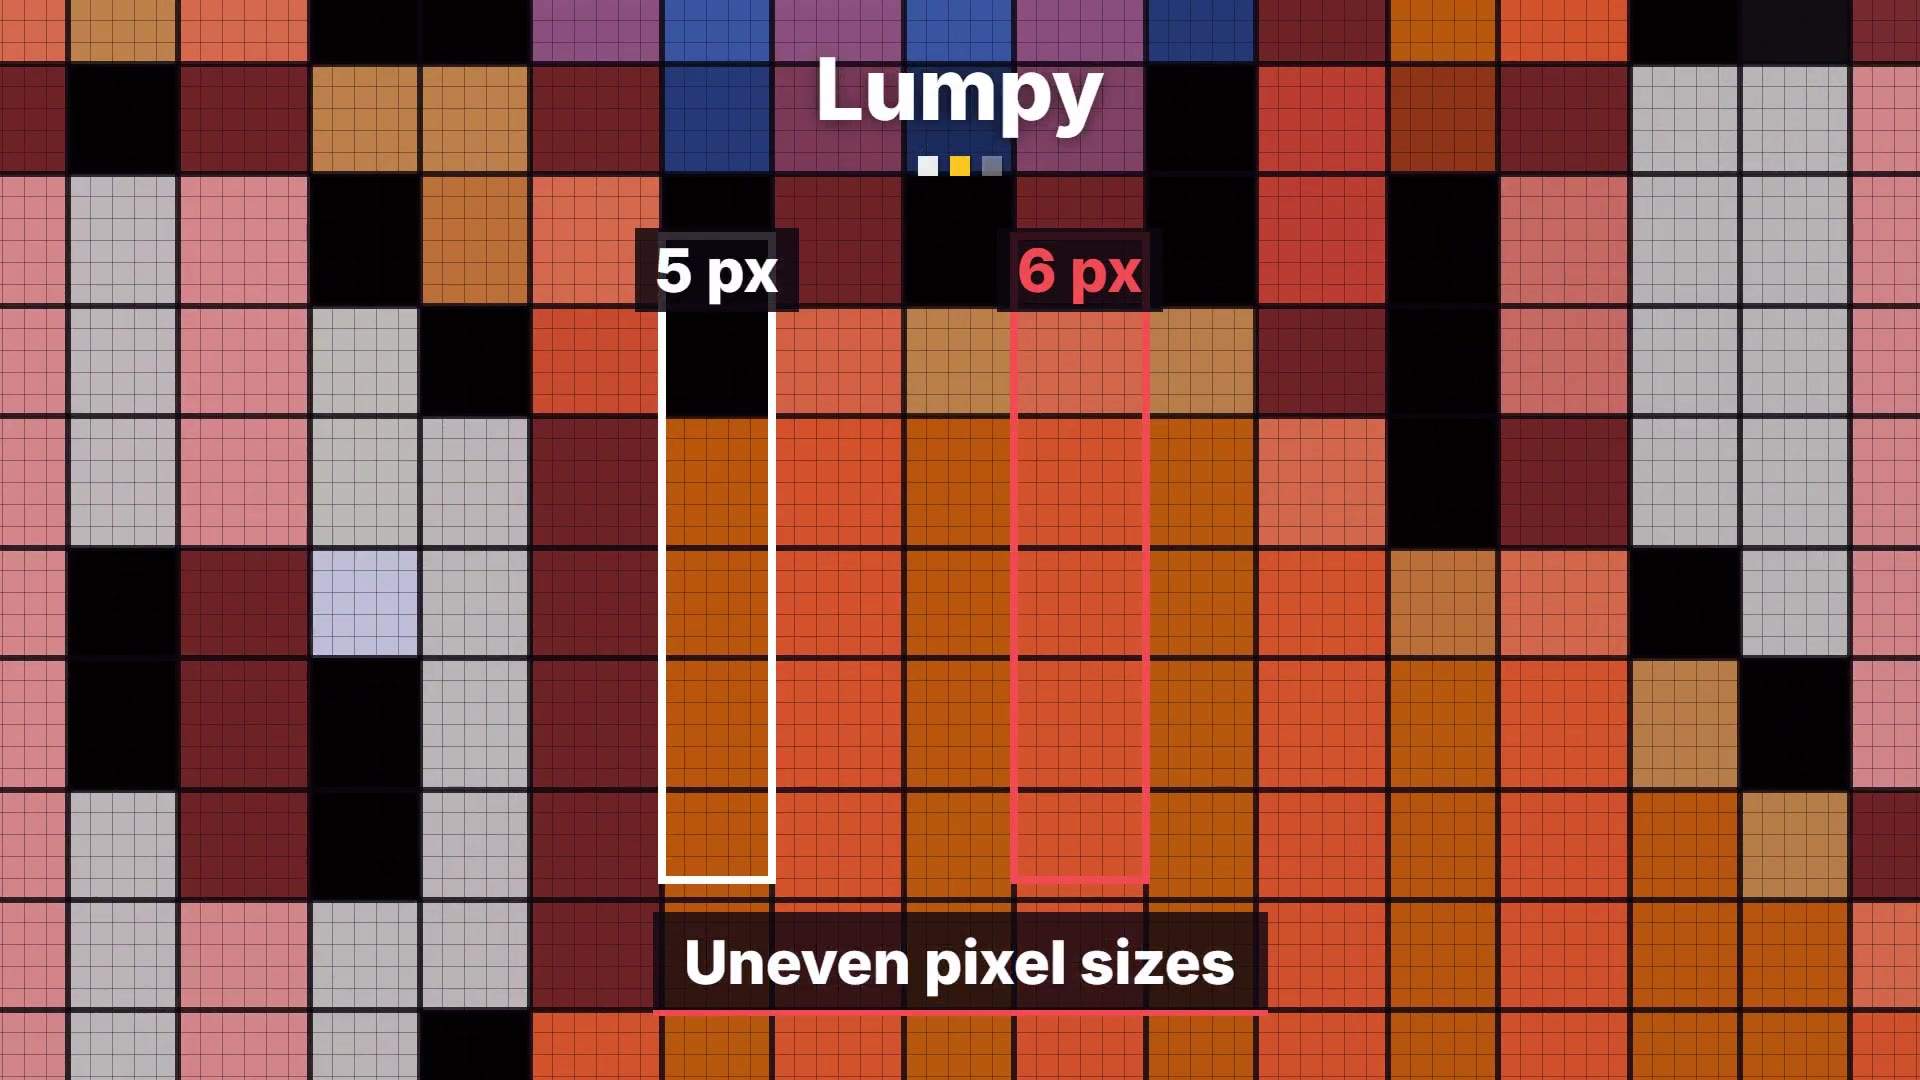
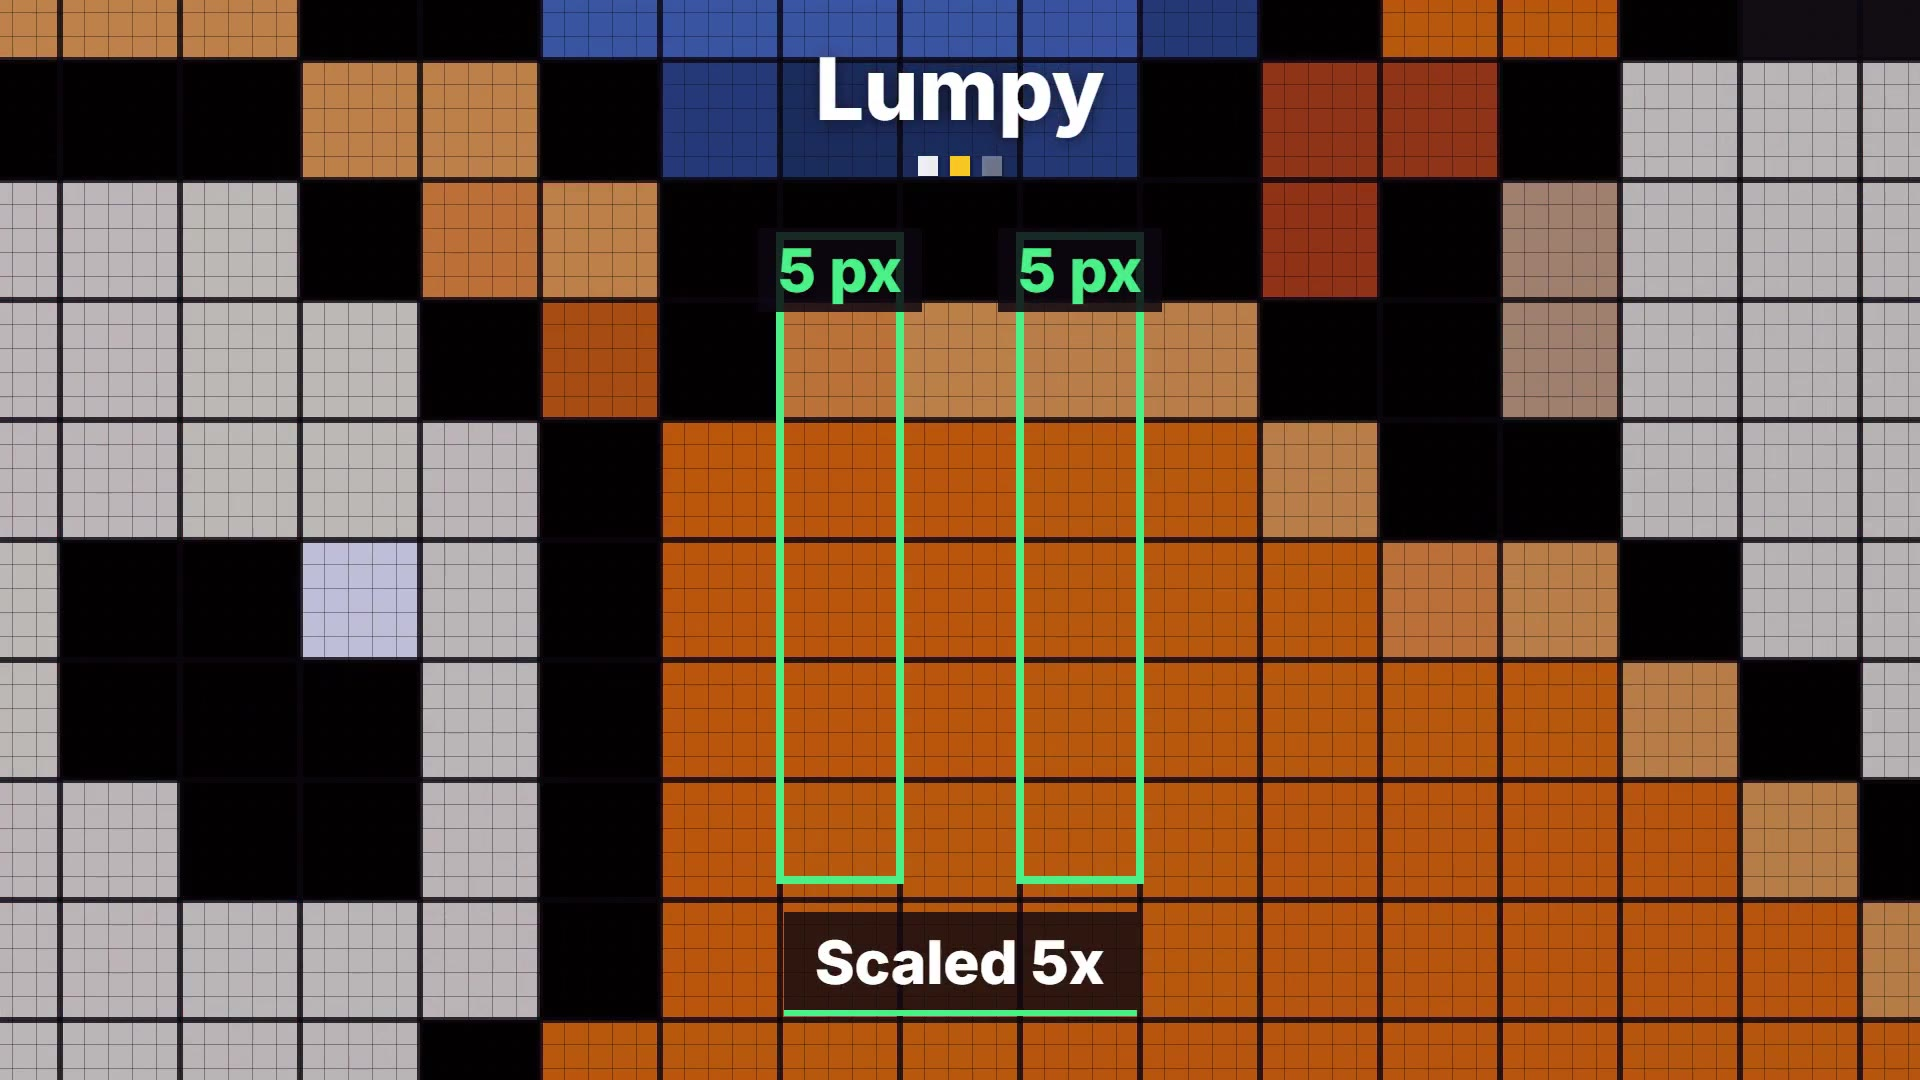
Kimo suggests choosing one base resolution, such as 384×216, and enlarging the whole image by a whole-number multiplier. Use black bars for remaining screen space. In his video, 5.45× scaling produces adjacent pixels five and six screen pixels wide; scaling by 5× makes them both five pixels wide.
3. Pixel snapping: align positions to the grid
Kimo separately recommends snapping the camera and every sprite position to whole pixels. Integer scaling concerns how the finished image is enlarged; snapping concerns where objects and the camera are drawn on the pixel grid. His post recommends both, but this particular video does not demonstrate snapping, so the frames above illustrate scaling only.
4. Use one pixel size throughout
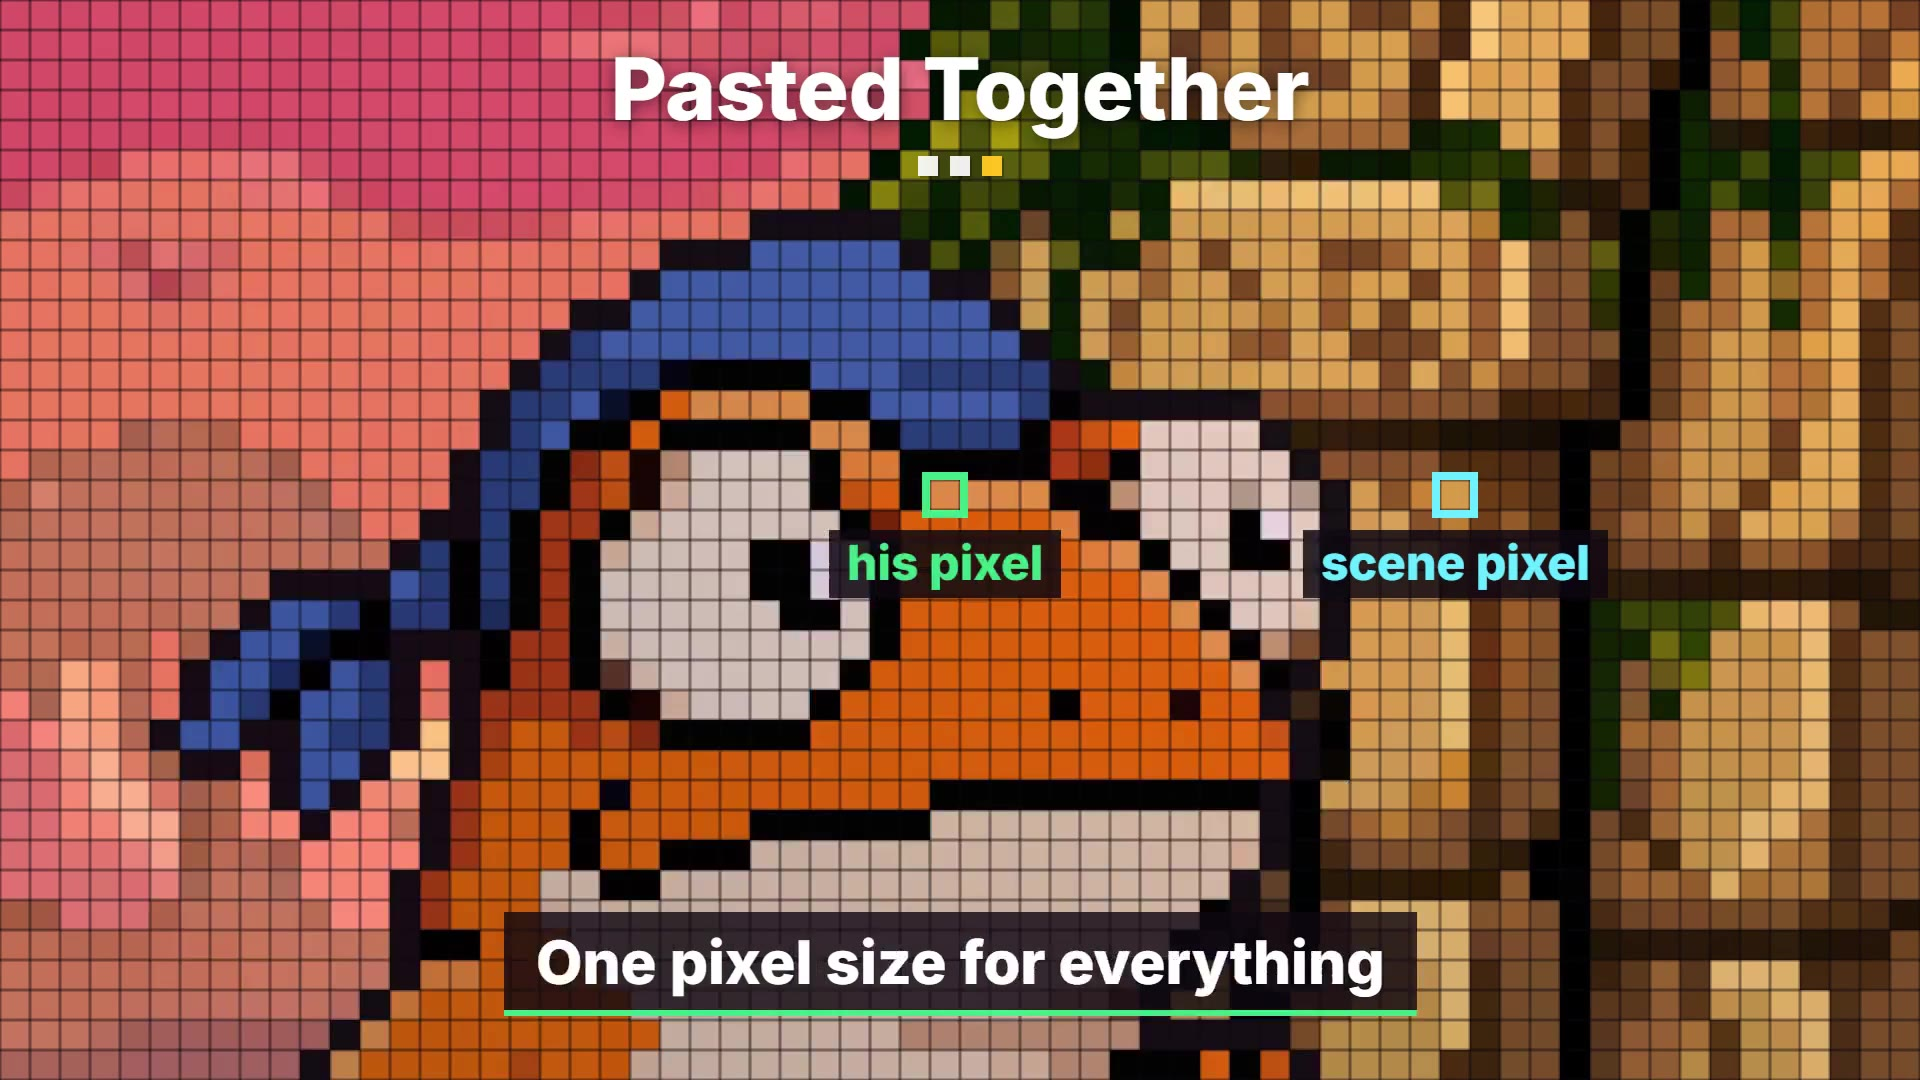
Keep sprites, tiles, effects and UI at a consistent pixel size. Kimo’s video compares a character pixel with a scene pixel to show how mismatched scales can make the scene look pasted together.
5. Avoid arbitrary rotation
For rotated pixel art, Kimo recommends using drawn rotations or 90-degree steps instead of rotating freely at runtime.
6. Keep pixel fonts at their native size
Use pixel fonts at their intended size and turn off antialiasing to keep their edges crisp.
7. Align particles and effects to the same grid
Keep particles and visual effects on the same pixel grid as the sprites.
8. Check new assets alongside a tile
Before adding an asset, place it beside a tile at 1× and check that their pixel sizes match.
Kimo’s engine checklist
For Godot, he recommends Nearest filtering, viewport stretch with integer scaling, both 2D transform and vertex pixel snapping, lossless sprite imports and font antialiasing set to None. For Unity, he recommends Point filtering, no compression or mipmaps, the same Pixels Per Unit for sprites, a Pixel Perfect Camera set to the base resolution and antialiasing off.